
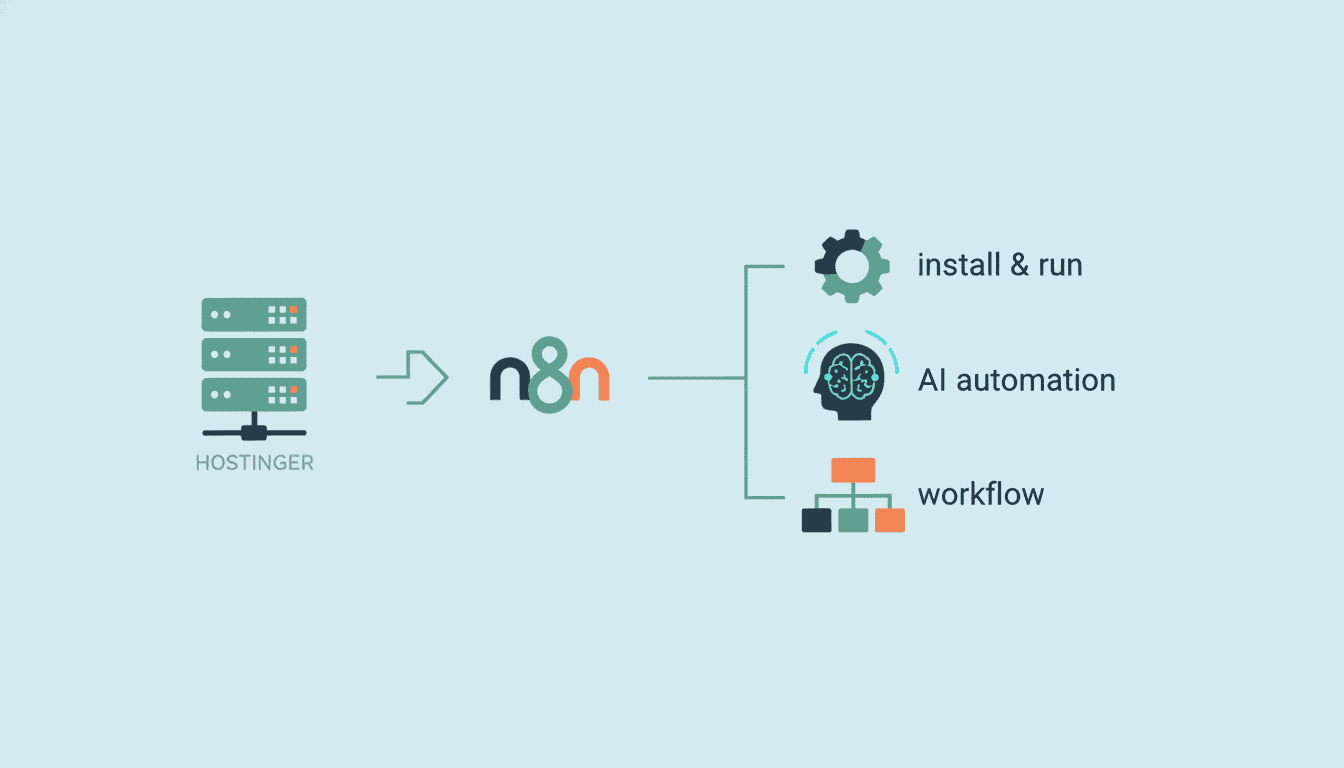
How to Install & Run n8n on Hostinger (Full Guide)
Setting up n8n on Hostinger can significantly enhance your workflow automation capabilities without breaking the bank. n8n is a powerful, fair-code licensed workflow automation tool that allows you to connect various services and automate repetitive tasks. This comprehensive guide will walk you through the entire process of installing and running n8n on Hostinger, from account setup to configuration and maintenance.
Whether you’re looking to build complex automation workflows or simple integrations, this step-by-step tutorial will help you get n8n up and running on your Hostinger hosting account. Let’s dive in and explore how to leverage Hostinger’s reliable infrastructure for your n8n automation needs.
Setting Up Your Hostinger Account for n8n
Before you can install n8n, you’ll need to have a properly configured Hostinger account. Hostinger provides a user-friendly platform that makes it relatively straightforward to set up your hosting environment for applications like n8n.
Creating a Hostinger Account
The first step in your journey to run n8n is creating a Hostinger account:
- Visit the official Hostinger website at www.hostinger.com
- Click on the “Sign Up” or “Get Started” button prominently displayed on the homepage
- Enter your email address and choose a secure password
- Verify your email address by clicking the confirmation link sent to your inbox
- Complete your profile information including billing details
Choosing the Right Hosting Plan for n8n
Not all hosting plans are created equal when it comes to running n8n efficiently. Since n8n is a Node.js application with specific requirements, you’ll need to select an appropriate hosting plan from Hostinger’s offerings.
For hostinger n8n hosting, consider these requirements:
- A minimum of 2GB RAM (4GB recommended for production use)
- At least 1 CPU core (2+ recommended for better performance)
- Node.js version 14 or higher support
- SSH access for installation and configuration
- MySQL or PostgreSQL database support
Based on these requirements, the following Hostinger plans are suitable for running n8n:
| Plan Type | Suitability for n8n | Key Features |
| Premium Shared Hosting | Limited (testing only) | Affordable, but limited resources |
| Business Shared Hosting | Minimum viable option | More resources, better for small workflows |
| Cloud Hosting | Good | Dedicated resources, sufficient RAM and CPU |
| VPS Hosting | Excellent | Full control, customizable resources, ideal for production |
For most users, a VPS plan is the recommended hostinger n8n hosting solution as it provides the necessary resources and control for a smooth experience.
Installing n8n on Hostinger
Once you’ve set up your Hostinger account and selected an appropriate plan, you can proceed with the installation of n8n. The installation process involves several steps that must be followed carefully.
Accessing Your Hostinger Control Panel
To begin the installation process, you’ll need to access your Hostinger control panel:
- Log in to your Hostinger account using your credentials
- Navigate to the “Hosting” section and select your hosting plan
- Click on “Manage” to access the hosting control panel (hPanel)
- Familiarize yourself with the control panel interface, as you’ll be using it frequently
- Locate and note your server’s IP address and SSH access details
The hPanel provides access to various tools and settings that you’ll need for setting up n8n, including database management, domain settings, and SSH access.
Setting Up the n8n Environment
Before installing n8n itself, you need to prepare your server environment:
- Access SSH terminal through Hostinger’s control panel or use your preferred SSH client
- Update your system packages:
sudo apt update && sudo apt upgrade -y
- Install Node.js (version 14 or higher is required for n8n):
curl -fsSL https://deb.nodesource.com/setup_16.x | sudo -E bash -
sudo apt-get install -y nodejs
- Verify Node.js installation:
node -v
npm -v
- Install additional dependencies:
sudo apt install -y build-essential git
Installing n8n via SSH
Now that your environment is ready, you can proceed with the n8n installation:
- Connect to your server via SSH
- Install n8n globally using npm:
npm install n8n -g
- This process may take several minutes depending on your server’s performance
- Once completed, verify the installation:
n8n --version
- Start n8n to test if it works:
n8n start
If everything is installed correctly, n8n should start, and you’ll see output indicating that the service is running, typically on port 5678. You can access the n8n interface by navigating to http://[your-server-ip]:5678 in your web browser.
Configuring n8n on Hostinger
After successfully installing n8n on your Hostinger server, the next step is to configure it for optimal performance and reliability.
Setting Up the Database for n8n
By default, n8n uses SQLite as its database, but for production use, it’s recommended to use MySQL or PostgreSQL:
- Access your Hostinger control panel and navigate to the MySQL section
- Create a new database for n8n:
- Click on “New Database”
- Choose a database name (e.g., “n8n_db”)
- Create a database user and secure password
- Assign all privileges to the user for this database
- Note down the database credentials (hostname, database name, username, and password)
- Stop n8n if it’s running:
pkill -f n8n
- Install MySQL support for n8n:
npm install -g n8n-nodes-base mysql
Configuring n8n Settings
To configure n8n to use your new database and customize other settings, you’ll need to set up environment variables:
- Create a configuration file:
nano ~/.n8nrc
- Add the following configuration (adjust according to your setup):
DB_TYPE=mysqldb
DB_MYSQLDB_DATABASE=your_database_name
DB_MYSQLDB_HOST=localhost
DB_MYSQLDB_PORT=3306
DB_MYSQLDB_USER=your_database_user
DB_MYSQLDB_PASSWORD=your_database_password
WEBHOOK_URL=https://your-domain.com
GENERIC_TIMEZONE="your timezone"
N8N_PORT=5678
N8N_PROTOCOL=https
NODE_ENV=production
- Save the file and exit the editor
- For security, set up Hostinger n8n with proper authentication:
N8N_BASIC_AUTH_ACTIVE=true
N8N_BASIC_AUTH_USER=your_username
N8N_BASIC_AUTH_PASSWORD=your_secure_password
- Start n8n with the new configuration:
n8n start
To ensure n8n runs continuously, even after you log out or if the server restarts, set it up as a service:
sudo npm install -g pm2
pm2 start n8n
pm2 startup
pm2 save
Updating n8n on Hostinger
Keeping your n8n installation up-to-date is important for security and to benefit from new features and improvements.
Checking Your Current n8n Version
Before updating, it’s good practice to check your current version:
- Connect to your Hostinger server via SSH
- Run the following command to check your current n8n version:
n8n --version
- Visit the official n8n GitHub repository to check the latest available version
- Review the changelog to understand what’s new in the latest release
Steps to Update n8n on Hostinger
Follow these steps to update n8n on your Hostinger server:
- Before updating, create a backup of your n8n data:
pm2 stop n8n
cp -R ~/.n8n ~/.n8n-backup-$(date +%F)
- Update n8n to the latest version:
npm update -g n8n
- If you’re using PM2 to manage n8n, restart the service:
pm2 restart n8n
- Verify the update was successful:
n8n --version
- Check that n8n is running properly by accessing the web interface
Resources
To help you get the most out of your n8n installation on Hostinger, here are some valuable resources.
Useful Links for Further Assistance
- Official n8n Documentation – Comprehensive guide to using n8n
- n8n Community Forum – Get help from the n8n community
- n8n GitHub Repository – Source code and issue tracking
- Hostinger Support Center – For hosting-related issues
- Hostinger Tutorials – General hosting guides
Documentation and Tutorials
To deepen your understanding of n8n and make the most of your setup on Hostinger, explore these educational resources:
- n8n Tutorials – Step-by-step guides for creating workflows
- Node Reference – Detailed information about available nodes
- Server Setups Guide – Advanced configuration options
- n8n YouTube Channel – Video tutorials and demonstrations
- n8n Blog – Latest news and feature highlights
Conclusion
Installing and running n8n on Hostinger provides you with a powerful automation platform on a reliable hosting service. By following this guide, you’ve learned how to set up a Hostinger account, choose the appropriate hosting plan, install n8n, configure it for optimal performance, and keep it updated.
Remember that n8n is a versatile tool that can connect to hundreds of services, enabling you to create complex automated workflows tailored to your specific needs. As you become more familiar with n8n, you can leverage its full potential to save time and streamline your processes.
With your n8n instance now up and running on Hostinger, you’re ready to start creating workflows and automations that can transform your productivity. If you encounter any issues, refer to the resources section for help, or reach out to the active n8n community.
Frequently Asked Questions
What are the minimum system requirements to run n8n on Hostinger?
To run n8n effectively on Hostinger, you need a minimum of 2GB RAM (4GB recommended for production), at least 1 CPU core, Node.js version 14 or higher, SSH access, and MySQL or PostgreSQL database support. A VPS or Cloud Hosting plan is generally recommended for the best performance.
Can I run n8n on Hostinger’s shared hosting plans?
While it’s technically possible to run n8n on Hostinger’s Business or Premium shared hosting plans, it’s not recommended for production use due to resource limitations. For a smoother experience, consider using Hostinger’s VPS or Cloud hosting options that provide dedicated resources.
How do I create a secure n8n installation on Hostinger?
To secure your n8n installation on Hostinger, enable basic authentication using environment variables, set up HTTPS for all connections, use a strong database password, regularly update n8n to the latest version, and consider implementing IP restrictions if applicable.
What should I do if n8n crashes on my Hostinger server?
If n8n crashes, check the logs for error messages (using ‘pm2 logs n8n’), verify that you have sufficient server resources, ensure your Node.js version is compatible, check database connectivity, and restore from a backup if necessary. Using PM2 for process management helps with automatic restarts in case of crashes.
Can I access my n8n workflows remotely when hosted on Hostinger?
Yes, you can access your n8n workflows remotely by setting up a domain name in Hostinger, configuring proper SSL certificates, and ensuring your n8n instance is configured with the correct WEBHOOK_URL and N8N_PROTOCOL environment variables. This allows secure access from anywhere.
How often should I update n8n on my Hostinger server?
It’s recommended to update n8n regularly, typically once a month or whenever security updates are released. Before updating, always create a backup of your n8n data, review the changelog for breaking changes, and test the update in a non-production environment if possible.